How to Make Perfect Mini Cheesecake Bites at Home
Ever wanted a dessert that’s both cute and tempting? Mini cheesecake bites are your answer. These small treats are full of flavor and make any event special.
As a home baker, I found making these in under 20 minutes is easy. You can make 12 mini cheesecakes that look like they’re from a bakery, all by yourself!
These desserts are not just tasty; they’re also a blank canvas for your creativity. They’re perfect for dinner parties or just a sweet treat for yourself. They’ll quickly become your go-to dessert.
Table of Contents
Essential Ingredients and Equipment for Mini Cheesecake Success
Making delicious mini cheesecakes needs the right stuff. Whether you’re making no-bake cheesecake cups or traditional baked ones, getting ready is important for great results.
Creating mini cheesecakes needs precision and top-notch ingredients. Knowing what you need before you start will help you succeed in making desserts.
Key Ingredients for Mini Cheesecakes
- Cream cheese (24 ounces, 3 packages of 8 ounces)
- Granulated sugar (1 cup total)
- Large eggs (2)
- Vanilla extract (1 teaspoon)
- Fresh lemon juice (1 teaspoon)
Crust Options
You have two great crust options for your mini cheesecakes:
- Vanilla Wafer Crust: 48 mini vanilla wafers
- Graham Cracker Crust: 1 cup graham cracker crumbs, 2 tablespoons sugar, 3 tablespoons melted butter
Essential Kitchen Equipment
| Equipment | Purpose |
|---|---|
| Mini muffin pan | Baking individual cheesecake cups |
| Electric mixer | Blending cream cheese and ingredients smoothly |
| Measuring cups | Ensuring precise ingredient quantities |
| Mixing bowls | Preparing crust and filling |
“The secret to perfect mini cheesecakes lies in quality ingredients and the right tools.”
With these ingredients and tools, you’re set to make tasty mini cheesecake bites. They’ll surely wow your family and friends.
Step-by-Step Mini Cheesecake Bites Preparation
Making perfect mini cheesecakes needs precision and skill. Start by getting your ingredients ready and setting up your workspace. This is the first step to making delicious cheesecake shooters.
Crust Preparation
First, heat your oven to 350°F. For the crust, you’ll need:
- Graham cracker crumbs (about 80g or 2/3 cup)
- 3 tablespoons granulated sugar
- Melted butter
Put a 12-count mini muffin pan in the oven. Line each cup with a paper liner. Fill each cup with about 1 tablespoon of graham cracker mix. Bake the crust for 5 minutes to make a solid base for your cheesecake bites.
Cheesecake Filling
For the creamy filling, you’ll need:
- 16 ounces full-fat cream cheese
- 2/3 cup granulated sugar
- 2 large eggs plus 1 egg yolk
- 1 teaspoon vanilla extract
Mix the cream cheese until it’s smooth. Add sugar slowly. Then, mix in eggs one at a time for a smooth texture. Don’t overmix to avoid cracks in your cheesecake shooters.
Baking Process
Put the filling in the prepared crusts. Bake for 18-20 minutes until they’re almost set. You’ll get about 9-10 mini cheesecakes in a 12-count pan.
“Perfection is in the details” – Cheesecake Artisan
Let the cheesecakes cool down completely. Then, refrigerate them for at least 2 hours before serving. These mini cheesecakes can be stored in the fridge for up to 5 days. They’re perfect for a make-ahead dessert.
Delicious Variations and Topping Ideas for Mini Cheesecake Bites
Turn your mini cheesecake cups into amazing party desserts that wow your guests! These bite-sized treats are versatile and can be flavored in countless ways.

Make your mini cheesecake bites stand out with these exciting flavors and toppings. They’ll make your dessert table unforgettable.
Classic Flavor Variations
Try these tasty flavors to spice up your mini cheesecake cups:
- Chocolate Dream: Add cocoa powder for a deep chocolate taste
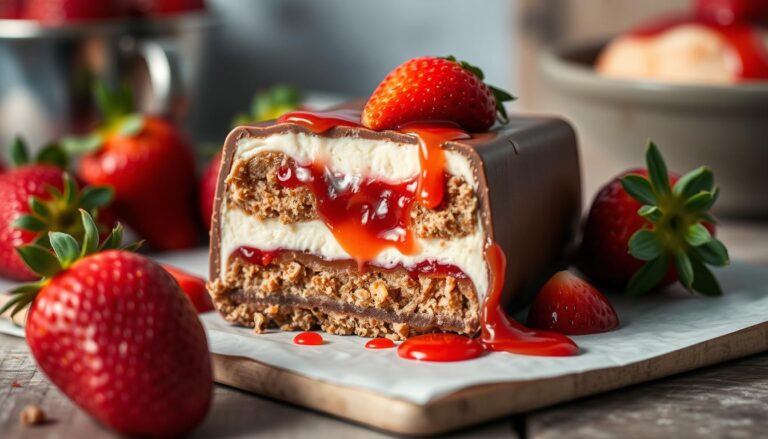
- Strawberry Swirl: Mix in fresh strawberry puree for a fruity twist
- Lemon Zest: Add lemon juice and zest for a bright, tangy flavor
- Peanut Butter Cup: Blend in creamy peanut butter and top with chocolate chunks
- Oreo Crush: Crumble Oreo cookies into the filling and use as a topping
Creative Topping Suggestions
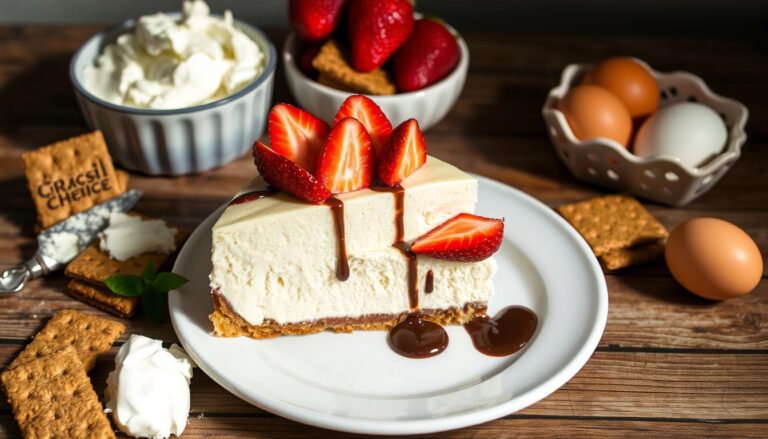
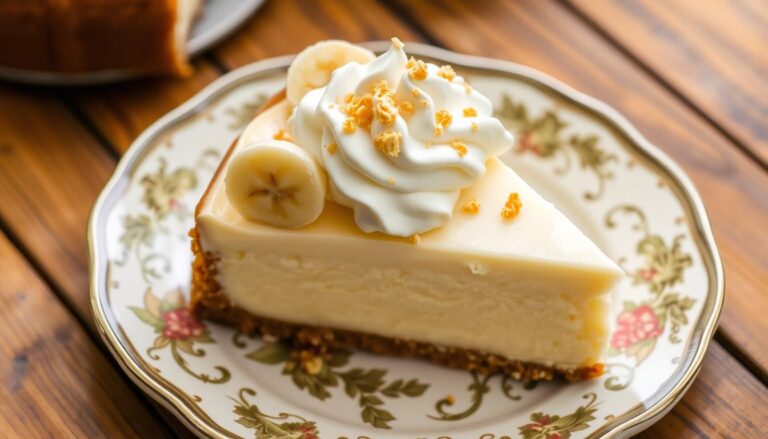
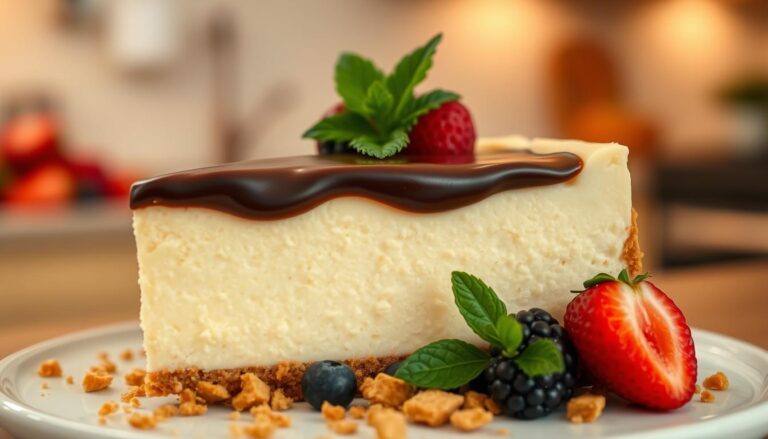
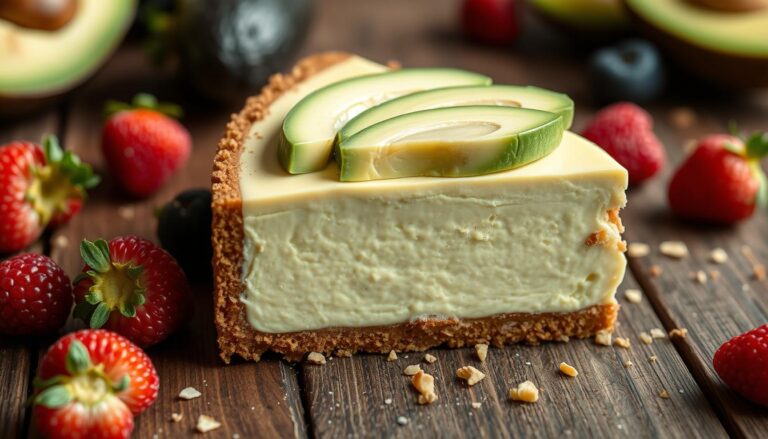
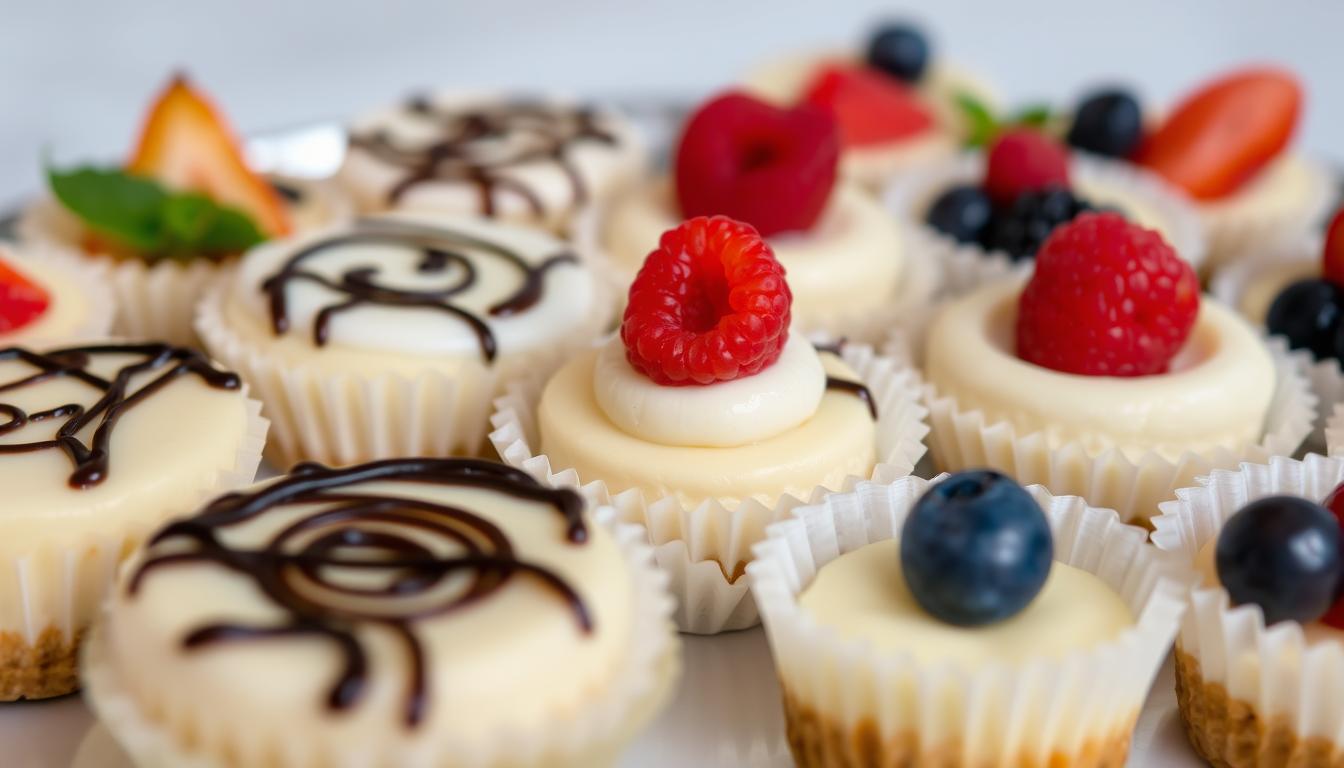
Top your mini cheesecake bites with these delicious toppings:
- Fresh berries (strawberries, raspberries, blueberries)
- Whipped cream dollops
- Chocolate drizzle
- Caramel sauce
- Fruit pie filling
- Crushed nuts
- Chocolate shavings
“The secret to amazing party dessert ideas is creativity and personal touch!” – Pastry Chef Recommendation
Pro tip: Mix and match flavors and toppings to create unique combinations. This will make your mini cheesecake cups the highlight of any party!
Storage Tips and Make-Ahead Instructions
Make-ahead desserts like mini cheesecake bites make entertaining easier. These tasty treats can be made ahead of time. This way, you’re always ready to wow your guests.

Storing mini cheesecake bites needs some care to keep them fresh. Here’s how to keep them delicious:
- Refrigeration: Store in an airtight container for up to 2-3 days
- Freezing: Individually wrap and freeze for up to 3 months
- Preparation tip: Keep toppings separate until serving time
Follow these tips for storing your make-ahead desserts:
| Storage Method | Duration | Best Practices |
|---|---|---|
| Refrigerator | 1-2 days | Use parchment paper between layers |
| Freezer | Up to 3 months | Wrap individually in plastic wrap |
Pro tip: For best results, thaw frozen mini cheesecake bites in the refrigerator overnight before serving.
When moving your cheesecakes, keep them cold. Use a cooler or insulated bag. Gentle handling ensures your mini cheesecake bites arrive looking as perfect as when they were first prepared.
Conclusion
Making bite-sized cheesecakes is more than just cooking. It’s a chance to turn simple ingredients into tasty treats that wow your loved ones. Your journey shows that with a little effort, you can make professional-quality desserts at home.
These mini cheesecakes are perfect for any event. They’re great for casual get-togethers or fancy dinner parties. You can try classic flavors or get creative with strawberry swirl or key lime.
Getting it right is key. Stick to the baking temps, filling methods, and cooling steps for the best results. Your skills in making these desserts will grow, making them a favorite in your kitchen.
We invite you to try new things and have fun with these cheesecakes. With practice, you’ll become confident in making these desserts. They’ll be a hit at your gatherings. Happy baking!